# Foxglove
# 官网地址:https://foxglove.dev/ (opens new window)
# 描述:
面向机器人开发人员的领先可观察性平台,用于可视化、注释和协作机器人数据加快开发和运营。
# 自定义面板扩展
用Foxglove Studio Extensions构建自定义React面板
# 源地址:Building a Custom React Panel with Foxglove Studio Extensions - Foxglove (opens new window)
# 开始
让我们先用create-foxglove-extension生成一个扩展模板:
$ npm init foxglove-extension@latest extension-demo
使用编辑器打开新创建的extension-demo文件夹,打开src/index.ts文件,你会看到一个示例面板,它为Studio注册了一个人类可读的显示名称。
这里可以将默认名称“example-panel”改为自己需要的任何名称,比如“Extension Demo”:
extensionContext.registerPanel({ name: "Extension Demo", initPanel: initExamplePanel });
在 src/ExamplePanel.tsx 中,你会看到一个简单的 ExamplePanel,它使用 React state 来跟踪你所关注的主题、消息及其渲染状态:
function ExamplePanel({ context }: { context: PanelExtensionContext }): JSX.Element {
  const [topics, setTopics] = useState<readonly Topic[] | undefined>();
  const [messages, setMessages] = useState<readonly MessageEvent<unknown>[] | undefined>();
  const [renderDone, setRenderDone] = useState<(() => void) | undefined>();
这个例子面板中,每当它收到任何相关的RenderState更新的时候将会运行函数onRender:
useLayoutEffect(() => {
  context.onRender = (renderState: RenderState, done) => {
    setRenderDone(() => done);
    setTopics(renderState.topics);
    setMessages(renderState.currentFrame);
  };
}, [context]);
你会看到这个onRender用几个项目更新面板状态:
新的done回调,表明面板已经完成了之前的渲染周期,应该重新渲染来自数据源的新主题
订阅主题上的新消息
订阅主题上的新消息
接下来,小组将关注我们订阅的主题上的新主题和新消息。而且这些RenderState字段的任何更改都会触发onRender函数:
context.onRender = (renderState: RenderState, done) => {
  // ...
};

context.watch("topics"); // new topics
context.watch("currentFrame"); // new messages
最后,面板将订阅一个主题数组 - 关于这些主题的新消息将赋值给RenderState的currentFrame。一旦渲染完成,我们调用面板最近设置的renderDone回调:
context.subscribe(["/some/topic"]);

useEffect(() => {
  renderDone?.();
}, [renderDone]);
在ExamplePanel函数的底部,我们可以看到如何使用所有这些逻辑来呈现数据源的主题和模式名称表:
return (
  <div style={{ padding: "1rem" }}>
    <h2>Welcome to your new extension panel!</h2>
    // ...
    {(topics ?? []).map((topic) => (
      <>
        <div key={topic.name}>{topic.name}</div>
        <div key={topic.datatype}>{topic.datatype}</div>
      </>
    ))}
    // ...
  </div>
);
# 本地安装
$ cd extension-demo/
$ yarn local-install
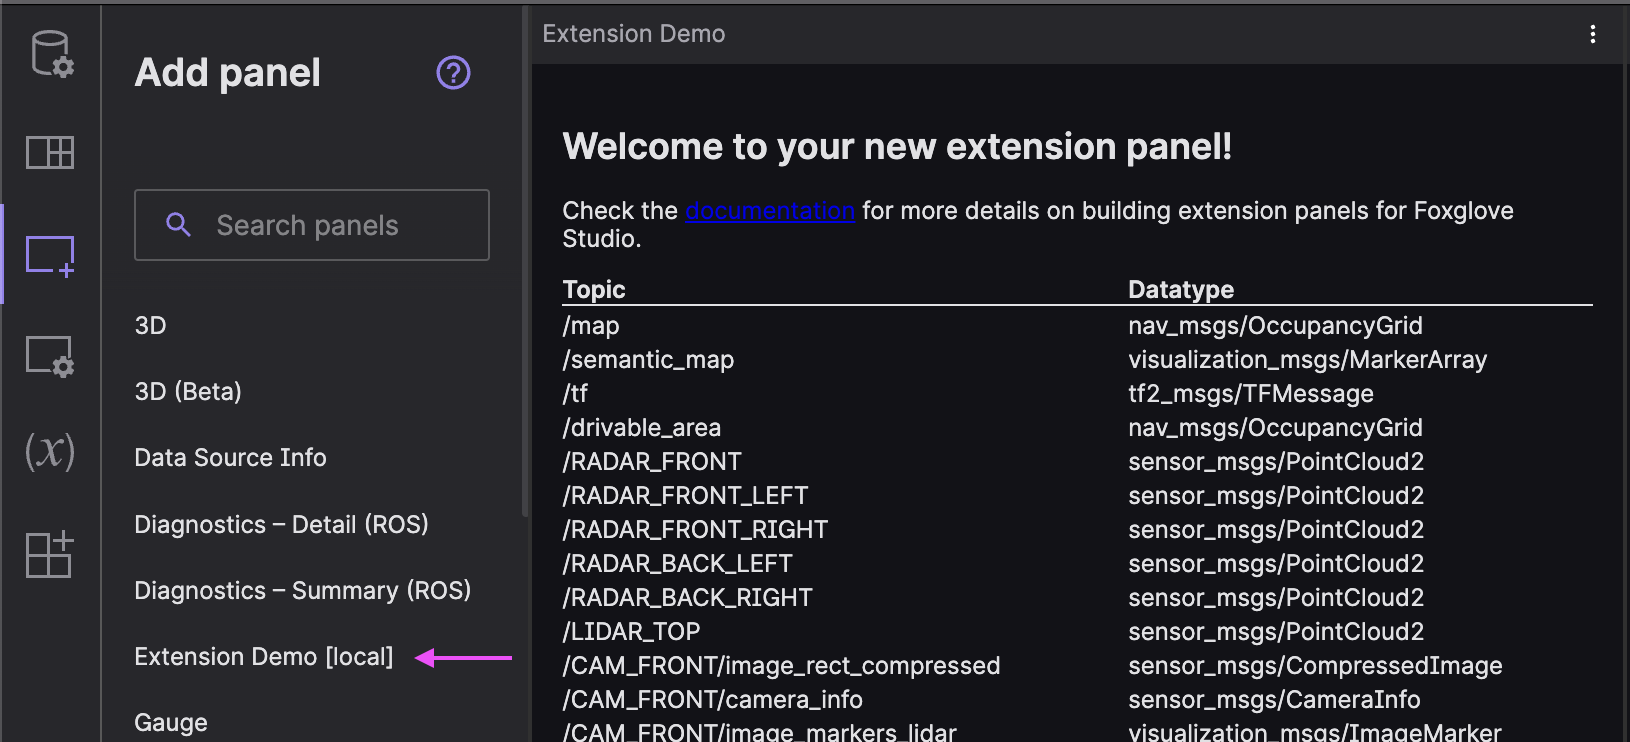
然后在Foxglove中就可以看到刚才安装的面板

至此,就已经成功加载了您的第一个Foxglove Studio扩展!
